
Mastering Design and Prototyping: Essential Tips for Success
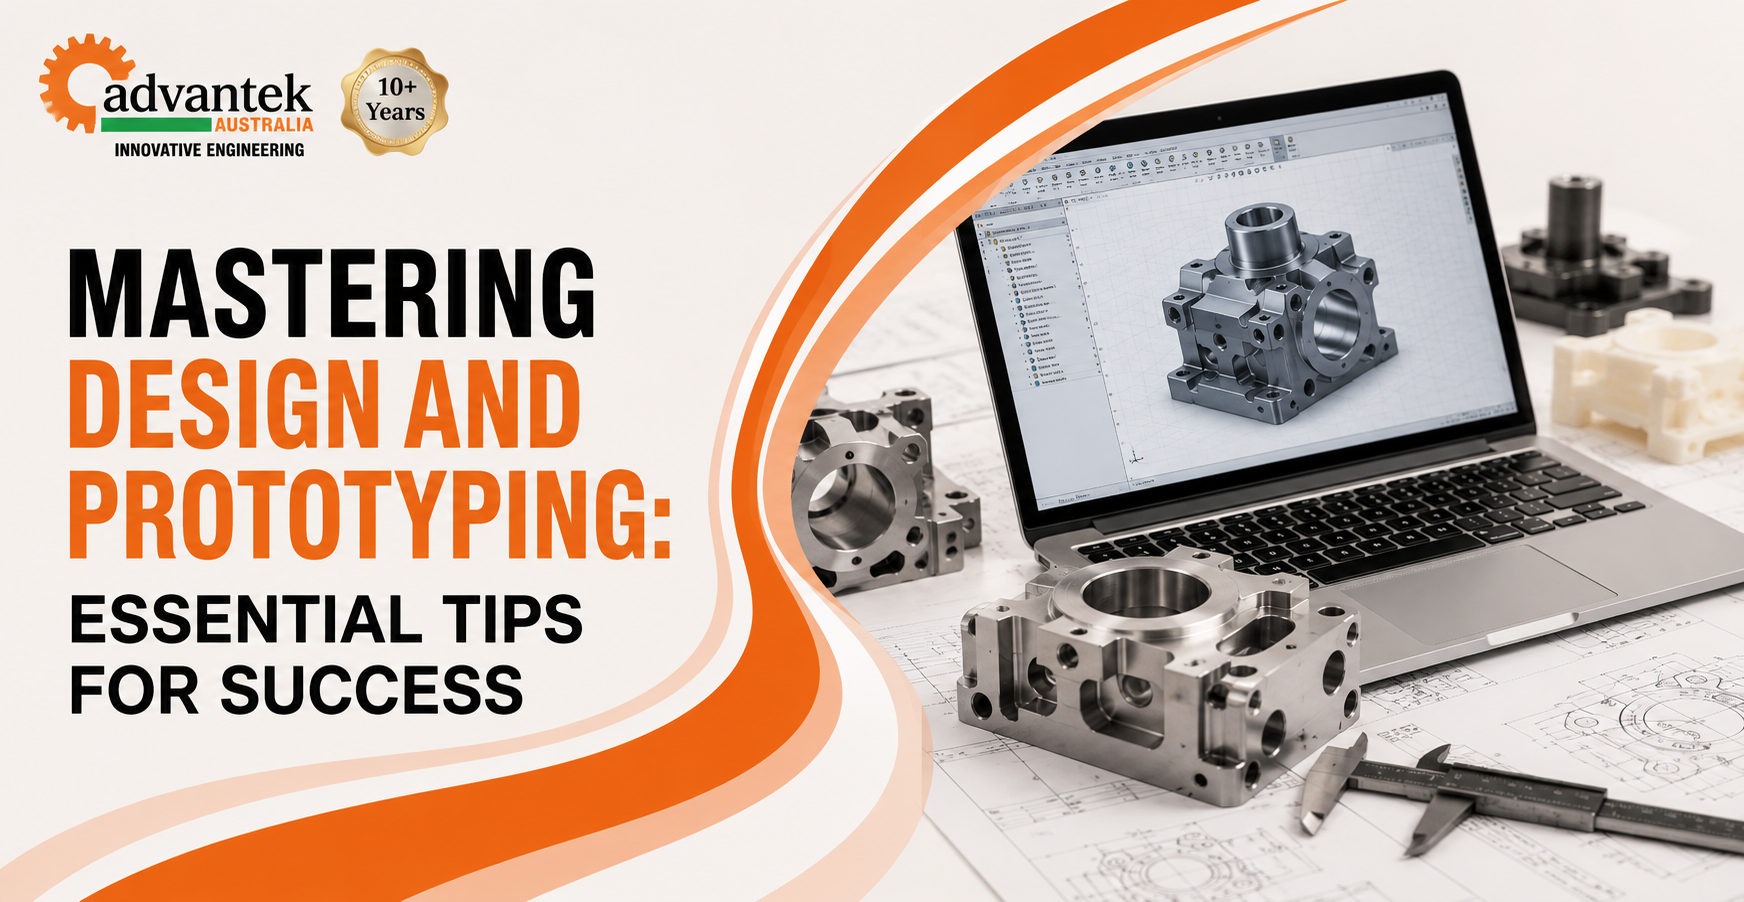
Every successful manufactured product starts life as an idea, but the gap between a sketch and a working prototype is where most projects either gain momentum or stall. Getting the design and prototyping stage right saves time, protects budgets, and prevents costly redesigns further down the track.
For engineers, product developers and business owners bringing a new component or product to life, prototyping isn’t just a formality before production. It’s the stage where design flaws get caught, materials get tested, and assumptions get proven or disproven before committing to a full production run.
Design and prototyping is the process of turning a concept into a physical, testable part, refining it through iteration before committing to full-scale manufacturing. Done well, it reduces production risk, validates fit and function, and shortens the overall path to market. At Advantek Australia, we work with businesses across the country from our Wetherill Park workshop in Sydney, helping turn CAD concepts into precision-engineered plastic and metal prototypes ready for real-world testing.
Quick Summary (TL;DR)
- Prototyping validates design, fit and function before committing to full production.
- CNC machining is one of the most practical prototyping methods for functional, load-bearing parts.
- Designing for manufacturability early avoids costly redesigns later.
- Choosing the right prototype material matters as much as choosing the final production material.
- Iterative prototyping (multiple small revisions) usually beats a single “perfect” first attempt.
- Tolerances, wall thickness and tool access should be considered from the first design.
- A good prototyping partner will flag manufacturability issues before cutting begins.
- Moving from prototype to production is smoother when both stages use compatible processes.
What is Design and Prototyping in Manufacturing?
Design and prototyping refers to the combined process of developing a product concept and producing physical, testable versions of it before mass production begins. It typically starts with CAD modelling, moves through one or more rounds of physical prototypes, and finishes once the design is validated for performance, fit and manufacturability.
The purpose isn’t just to “see what it looks like.” A good prototype answers real engineering questions:
- Does the part physically fit with mating components?
- Can it withstand the loads or stresses it will face in use?
- Does the chosen material perform as expected?
- Are there manufacturability issues that will cause problems at scale?
Skipping or rushing this stage is one of the most common reasons products run into expensive problems once they reach full production.
Why Does Prototyping Matter So Much?
Prototyping matters because it’s far cheaper to fix a design flaw on a single test part than on an entire production batch. A prototype that reveals a clearance issue, a weak wall section, or an incorrect tolerance gives you the chance to correct it before committing to tooling, bulk material orders or large-scale machining time.
There’s also a trust factor. When you can hand a physical part to a client, investor or internal stakeholder, it communicates the design far more effectively than a 3D render ever could. People can hold it, test it, and give feedback that’s grounded in reality rather than assumption.
How Do You Design a Part for Successful Prototyping?
Good prototypes start with good design decisions. The following principles apply whether you’re designing a simple bracket or a complex multi-part assembly.
Design for Manufacturability (DFM)
Design for manufacturability means considering how a part will actually be made while you’re still designing it, not after. Common DFM considerations for CNC machined prototypes include:
- Avoiding unnecessarily deep or narrow pockets that are hard to machine
- Keeping wall thicknesses realistic for the chosen material
- Allowing tool access to all required features
- Using standard hole sizes and thread pitches where possible
- Minimising tight internal corners that require special tooling
Choose Tolerances Deliberately
Not every dimension on a part needs to be held to a tight tolerance. Over-specifying tolerances adds cost and machining time without adding functional value. Reserve tight tolerances for features that genuinely require them, such as mating surfaces or press-fit components.
Select a Prototype Material That Reflects Reality
Wherever possible, prototype in the same material (or a close equivalent) that the final production part will use. Testing a nylon prototype when the production part will be machined from aluminium can give misleading results on strength, weight and thermal behaviour.
Which Prototyping Method Should You Use?
There are several common methods for producing prototypes, and each suits different goals.
| Method | Best For | Material Strength | Typical Turnaround | Cost for Low Volume |
| CNC Machining | Functional, load-bearing prototypes | High (engineering-grade materials) | Fast, no tooling required | Low to moderate |
| 3D Printing | Visual/form-check prototypes, complex internal shapes | Lower, layer-dependent | Fastest for simple parts | Low |
| Sheet Metal Fabrication | Enclosures, brackets, panels | High | Moderate | Moderate |
| Injection Moulding (soft tooling) | Plastic parts needing production-representative material | High for plastics | Slower (tooling required) | High (tooling cost) |
For prototypes that need to be tested under real mechanical loads, or that will be handled and assessed by decision-makers, CNC machining is usually the most reliable option because it produces parts from genuine engineering materials rather than approximations.
What Materials Work Best for Prototypes?
Material choice at the prototype stage should mirror your production intentions as closely as budget allows. Common prototype materials include:
| Material | Why It’s Used in Prototyping |
| Aluminium | Lightweight, machines cleanly, good stand-in for production metal parts |
| Acetal (Delrin) | Dimensionally stable, ideal for testing moving or precision-fit parts |
| Nylon | Tough and wear-resistant, useful for functional mechanical prototypes |
| ABS | Cost-effective, easy to machine, good for form and fit testing |
| Acrylic | Clear, useful for prototypes where visibility of internal features matters |
| Stainless Steel | Used when the final part needs to be tested under corrosive or high-load conditions |
How Many Prototype Iterations Should You Expect?
Most successful products go through more than one round of prototyping. It’s rare for a first design to be completely correct, and treating prototyping as an iterative process rather than a one-shot event leads to better outcomes. A typical prototyping pathway looks like this:
- Concept prototype– checks overall form and basic fit.
- Functional prototype– tests mechanical performance, load-bearing and moving parts.
- Pre-production prototype– produced using final materials and processes, used to validate the part exactly as it will be manufactured.
Budgeting time and cost for at least two rounds of prototyping is a realistic expectation for most non-trivial components.
How Do You Move From Prototype to Full Production Smoothly?
The transition from prototype to production is smoother when the prototyping process closely matches the intended production method. If a part is prototyped using CNC machining and will also be produced using CNC machining, the jump to production involves refining the program and confirming quantities, rather than redesigning around a completely different manufacturing process.
Checklist for a smooth transition to production:
- Confirm the prototype has passed all functional and fit testing
- Lock in final material specification
- Review and finalise tolerances based on prototype learnings
- Confirm surface finish and any coating requirements
- Agree on production volume and lead time with your manufacturer
- Request a final production-representative sample before full run commitment
What Common Mistakes Should You Avoid When Prototyping?
- Skipping DFM reviewand discovering manufacturability issues too late
- Using a placeholder materialthat behaves very differently to the final production material
- Over-tightening tolerancesacross the whole part instead of only critical features
- Treating the first prototype as finalwithout allowing for iteration
- Choosing a prototyping process that doesn’t match production, creating extra rework later
Frequently Asked Questions
What's the difference between a prototype and a production part?
A prototype is a test version used to validate design, fit and function, while a production part is the finalised component manufactured at volume once the design has been proven.
Is CNC machining a good method for prototyping?
Yes. CNC machining produces prototypes from genuine engineering-grade materials, giving accurate results for strength, fit and function without the cost of dedicated tooling.
How much does prototyping typically cost?
Cost depends on part complexity, material and quantity, but CNC machined prototypes are generally cost-effective because they don’t require tooling, unlike injection moulding.
How long does it take to get a prototype made?
Turnaround varies by complexity and material availability, but CNC machined prototypes can often be produced within a few days to a week or two.
Should I prototype in the same material as my final product?
Wherever practical, yes. Using a representative material gives a far more accurate picture of how the final part will perform under real conditions.
How many prototype revisions are normal?
Most non-trivial parts go through two or more rounds of prototyping before the design is finalised for production.
Can prototypes be used for testing with customers or investors?
Yes. Physical prototypes are one of the most effective ways to demonstrate a concept and gather meaningful feedback before committing to production.
What information do I need to provide to get a prototype made?
A CAD file (such as STEP, IGES or DXF), a technical drawing with key dimensions and tolerances, and details on your intended material and quantity.
Ready to Turn Your Design Into a Working Prototype?
Getting from concept to a proven, manufacturable design takes more than good intentions; it takes the right process, the right material choices, and a manufacturing partner who can flag issues before they become expensive problems. The team at Advantek Australia has helped businesses across the country move confidently from early concept through to full production, using the same CNC machining capability at every stage.
If you’re working on a new design and want practical guidance on prototyping materials, tolerances or manufacturability, get in touch with Advantek Australia’s Wetherill Park workshop to discuss your project and request a quote.
Get In Touch
Get In Touch

ISO 9001:2015 CERTIFIED

Address
3/80 Hassall Street,
Wetherill Park NSW 2164
Follow Us
© Copyright 2024 All Rights Reserved. Website Design & Developed By WebGlobals